
Know How to Activate Tag
Your Tageze Profile is FREE for Life!
Medical ID Sticker / Keychain

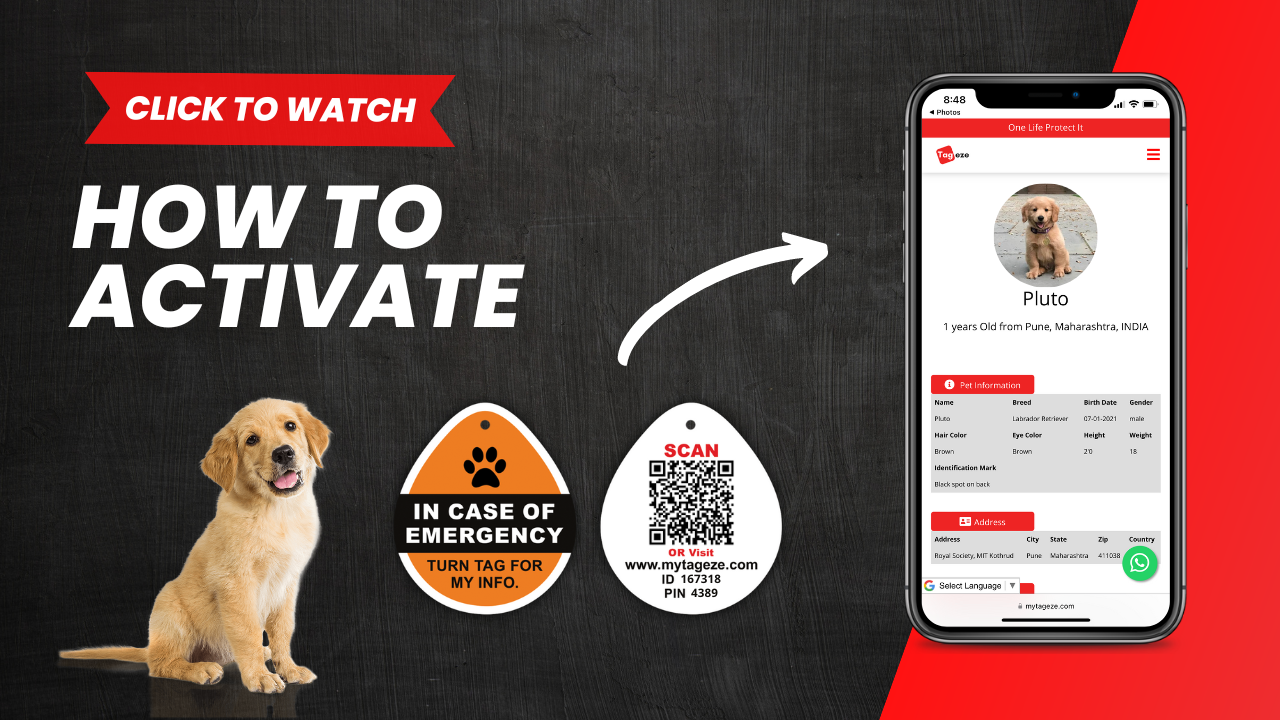
Dog Tag
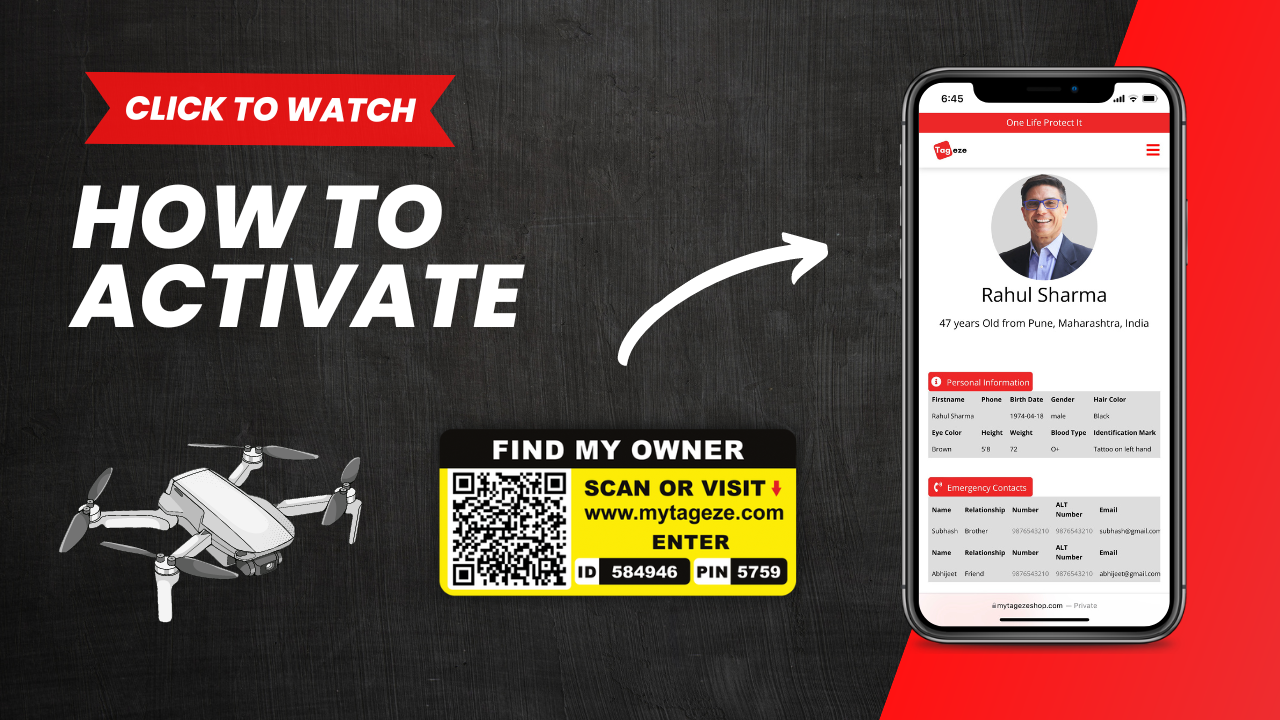
Find My Owner Tag
eManual Book
-
A. Activation Guide
Follow these simple steps to activate your Medical ID Sticker:
Step 1: Create Your Account
- Visit: www.mytageze.com
- Click on “Register” or “Create a Free Account”
- Enter your Email ID and create a Password
- Click on “Sign Up”
- Read the Privacy Notice and click on “I Accept”
Step 2: Create Your Profile
- After login, go to the Manage Profile page
- Click on “+ Add Profile”
- Select “For Human”
- Fill in your details:
Profile Photo
Basic Information
Emergency Contacts
Address
*Note: All fields are optional. You can choose to add information based on your comfort and preference
Step 3: Link Your Medical ID Sticker
- You will be redirected to the Link Tag page
- Enter a Label/Name for your tag (Example: Helmet Tag)
- Enter the Unique ID and PIN printed on your sticker (near the QR code)
- Click on “Finish”
Additional Information
- You can link your tag later if you skip this step
- You can also link multiple stickers to one profile
- After activation, you can add more details like:
Medical conditions Medications
Allergies Insurance information
Your Medical ID Sticker is now ready to protect you in case of an emergency.
-
B. Features & Settings
*Note: To use any of the features below, please make sure you are logged into your Tageze account.
1. How to Add a Profile Picture
- Go to Manage Profile
- Select your profile and click on “Edit”
- Click on the Edit icon on the profile picture
- Choose a photo from your device gallery
- Click OK / Tick Mark to upload
Please wait a few seconds your photo will be updated automatically.
*Note: Supported file formats: jpeg, png, jpg, gif, svg | Size upto 2MB
2. How to Hide Your Profile
- Select your profile → Click “Edit”
- Find the “Hide Profile” option
- Turn ON the toggle
When to use this?
- When you are not riding or travelling for a long time
What happens?
- Your profile becomes private
- No information will be visible when the sticker is scanned
3. How to Link More Stickers
- Select your profile → Click “Edit”
- Click on “Linked Product” or “Link Tag”
- Click “+ Link New Product”
- Enter: Tag Name (e.g., Helmet Tag), Unique ID & PIN (printed near QR code)
- Click “Save”
4.How to Create Multiple Profiles
- Go to Manage Profile
- Scroll down to the bottom
- Click on “+ Add Profile”
- Follow the same profile creation steps
5. How to View Scan History
- Go to Manage Profile
- Select your profile
- Click on “Scan History”
6. How to Add Medical Documents
Step 1: Create Google Drive Link
- Create a folder in your Google Drive
- Upload your medical documents
- Right-click the folder → Click Share
- Set access to “Anyone with the link”
- Select role as Viewer
- Click “Copy Link”
Step 2: Add Link to Tageze Profile
- Login → Select Profile → Click “Edit”
- Scroll to “View Documents” section
- Click Edit → Paste the link
- Click Save
7. How to Add Medical Information
(Allergies, Medication, Insurance, Medical Conditions)
- Select your profile Click “Edit”
- Scroll to the required section
- Click on the “+” icon
- Enter details Click Save
8. How to Delete a Profile
- Go to Manage Profile
- Click on “Delete” for the profile you want to remove
9. How to Change Account Password
- Go to Account Settings (top menu)
- In Change Password section:
- Enter current password
- Enter new password
- Confirm new password
- Click “Change Password”
10. How to Delete Your Account
- Go to Account Settings (top menu)
- Find “Cancel My Account” section
- Click on “Delete Account”
-
C. How It Works (In an Emergency)
The Medical ID Sticker is designed to provide critical information instantly during an emergency even if you are unable to communicate.
Step 1: QR Code is Scanned
In case of an accident or medical emergency, a first responder, bystander, or medical personnel can simply:
- Open their smartphone camera
- Peel / Remove hide cover sticker
- Scan the QR code on your medical ID sticker
*No app download is required
Step 2: Safety & Consent Notice
Before accessing your information, a caution message is displayed: It informs user that the data is sensitive & meant only for emergency use. It also notifies that the scan activity is recorded for security purposes. This ensures your data is handled responsibly.
Step 3: Emergency Profile is Displayed
Once accepted, your medical profile becomes instantly accessible,
which may include:
- Basic identification details - Emergency contact button
- Medical conditions - Allergies - Medications
- Insurance details - Access to medical documents
Step 4: Immediate Help Actions
The responder can quickly take action using built-in options:
Call your emergency contact directly
Access nearby:
- Hospital - Ambulance - Police services
Why This Matters
In emergencies, every second counts. Medical ID Sticker helps:
- Reduce response time
- Avoid medical errors (like wrong medication)
- Ensure your loved ones are informed quickly
Real Purpose
Even if you are unconscious or unable to speak, your Medical ID sticker speaks for you.
-
D. Support & Contact
At Tageze, we are committed to providing reliable support to ensure a smooth and safe experience for all our users. If you face any issues related to account setup, profile management, sticker activation, scan alerts, or any other feature, our support team is here to assist you.
For any queries or assistance, you can reach out to us through our official support channels. We recommend contacting us with complete details of your issue so that our team can provide a quick and effective resolution.
WhatsApp us on: +91 8180966739 | Mail us on: support@mytageze.com
We continuously work towards improving our platform and user experience, and your feedback plays an important role in that process. We aim to respond to all support requests as quickly as possible and ensure that your concerns are handled with priority and care.
-
E. Things to Keep in Mind
For the best and most effective use of your Medical ID Sticker, please keep the following points in mind:
- Place the sticker in a clearly visible and accessible location, such as on your helmet or vehicle, so that it can be easily noticed during an emergency.
- Avoid placing the sticker in areas where it may be covered, scratched, or damaged, as this may affect scanability.
- Ensure that your profile is activated and linked to the sticker; an unactivated sticker will not display any information.
- Keep your medical and emergency details updated regularly to ensure accurate information is available when needed.
- Use the “Hide Profile” feature when you are not actively using the sticker for extended periods.
- Do not share clear images of your QR code publicly (such as on social media), as this may lead to unnecessary scans.
- Regularly check your Scan History to stay aware of any activity related to your profile.
- In case of loss or damage of the sticker, immediately hide your profile or unlink the sticker from your account.
- Always keep your login credentials secure and do not share them with others.
- By following these guidelines, you can ensure that your Medical ID Sticker works effectively when it matters the most.